 |
 |
 |
|---|---|---|
 |
 |
 |
 |
 |
 |
Update 5: I'm on the Home Stretch!
By Mark on May 16, 2018
The final deadline is next week. Wow, I feel as if I was steaming the sides last week. Time is nothing! I'm confident that I'll finish on time. I've already started the final assembly.
What's Been Built
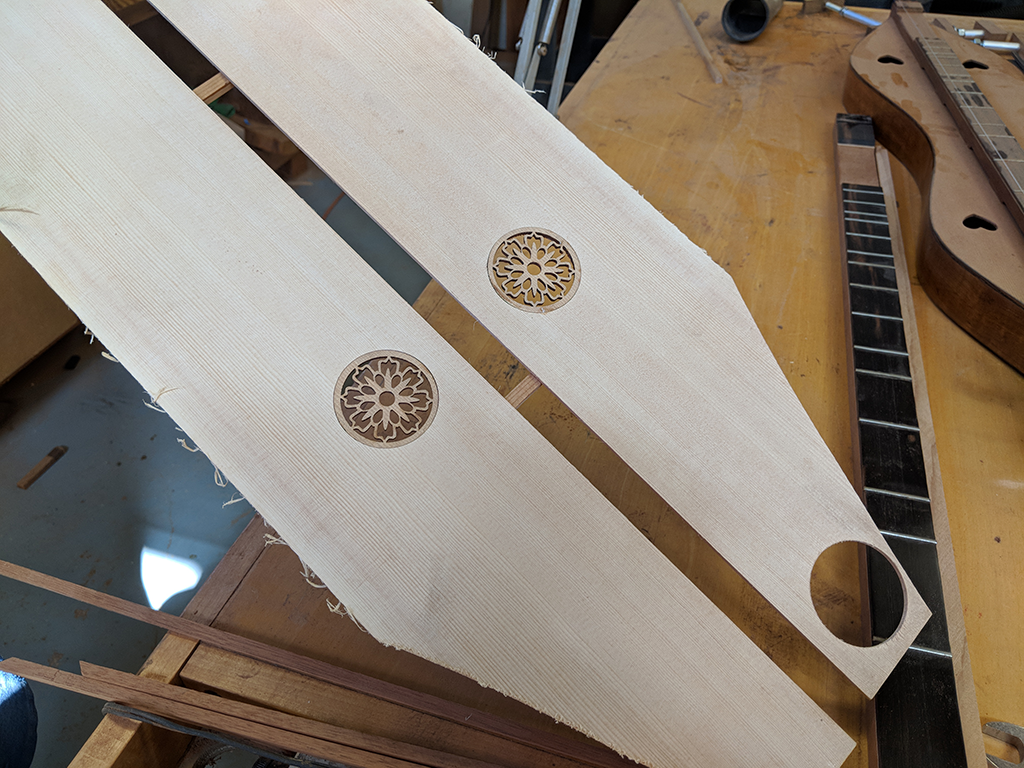
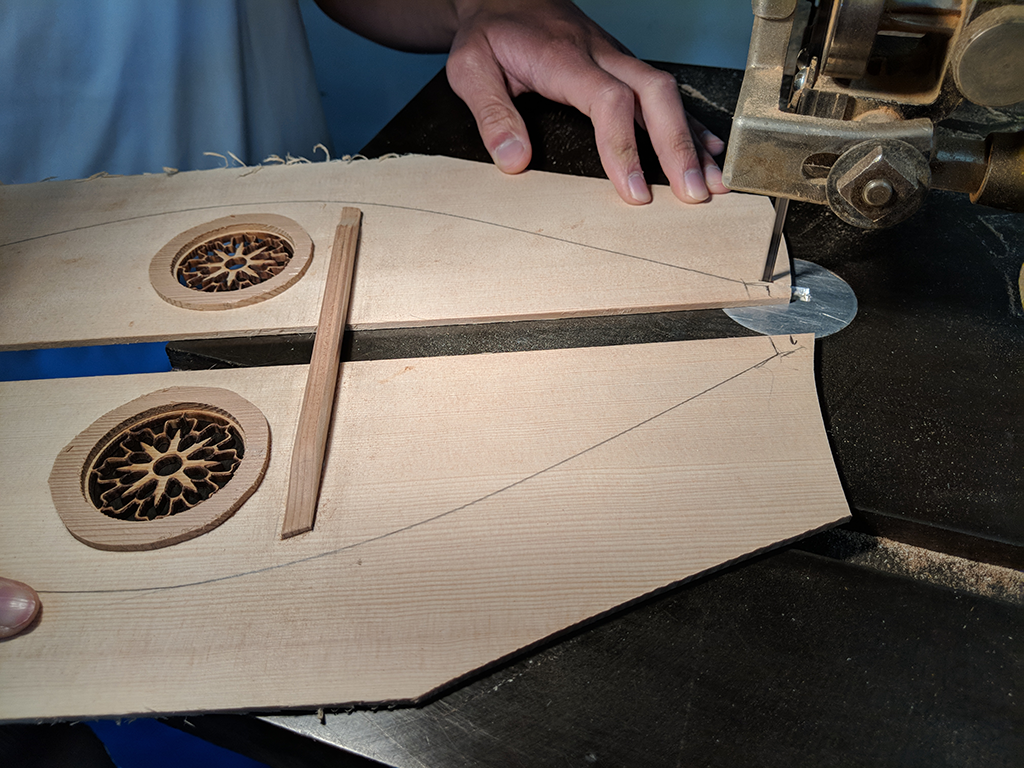
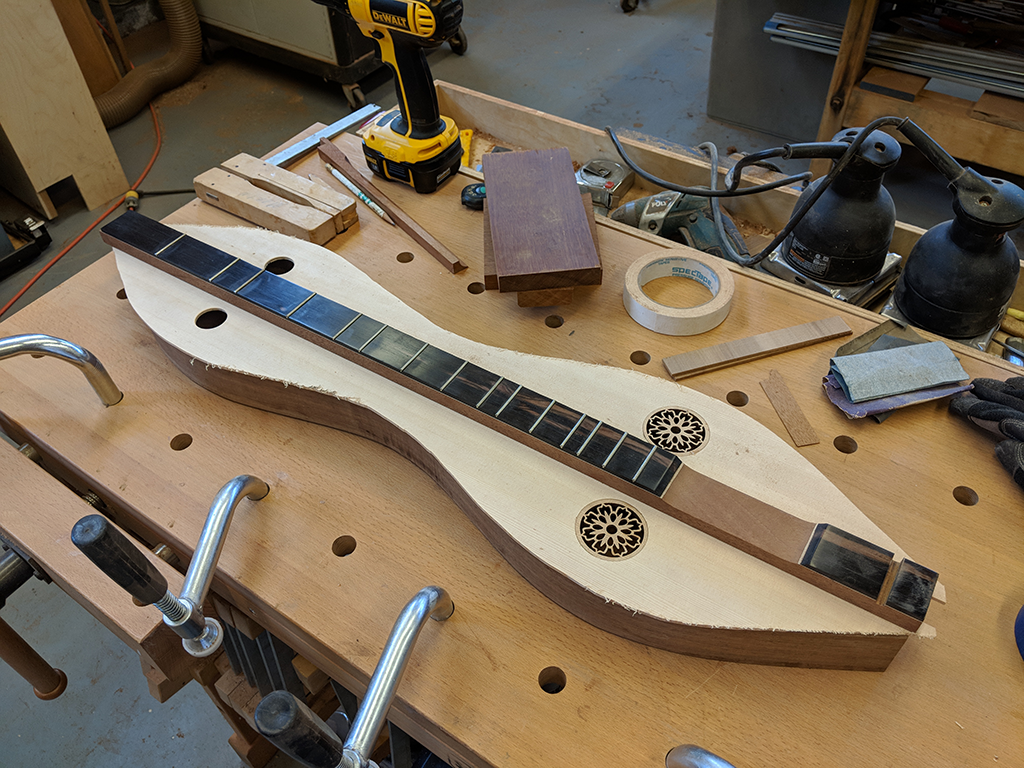
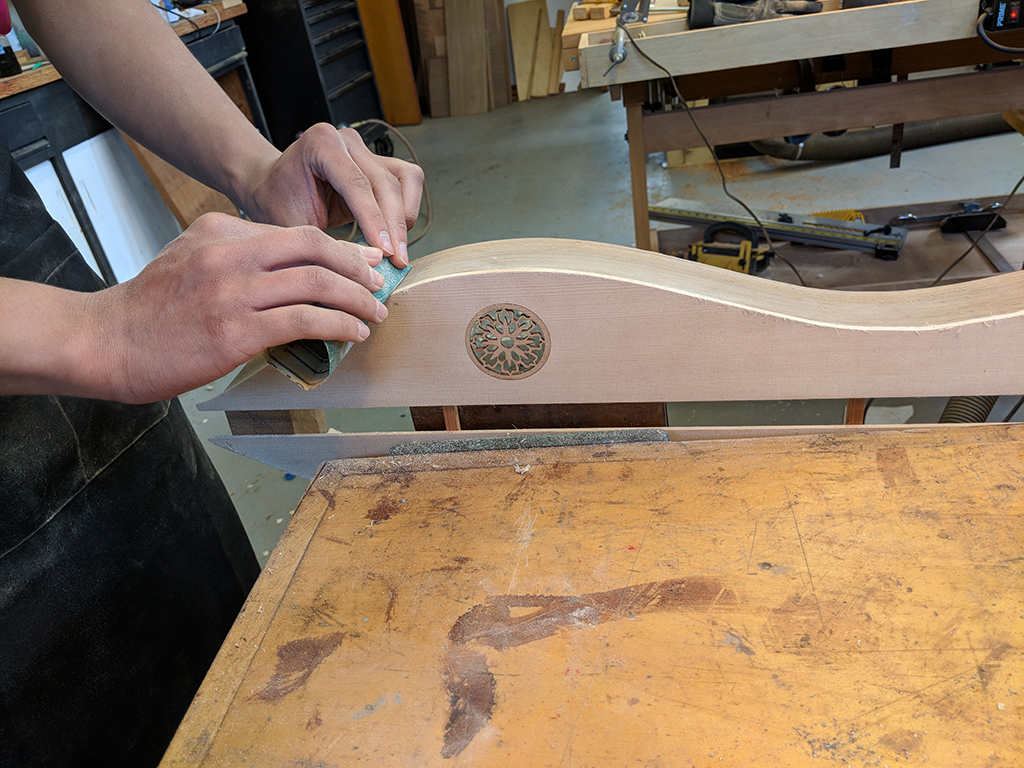
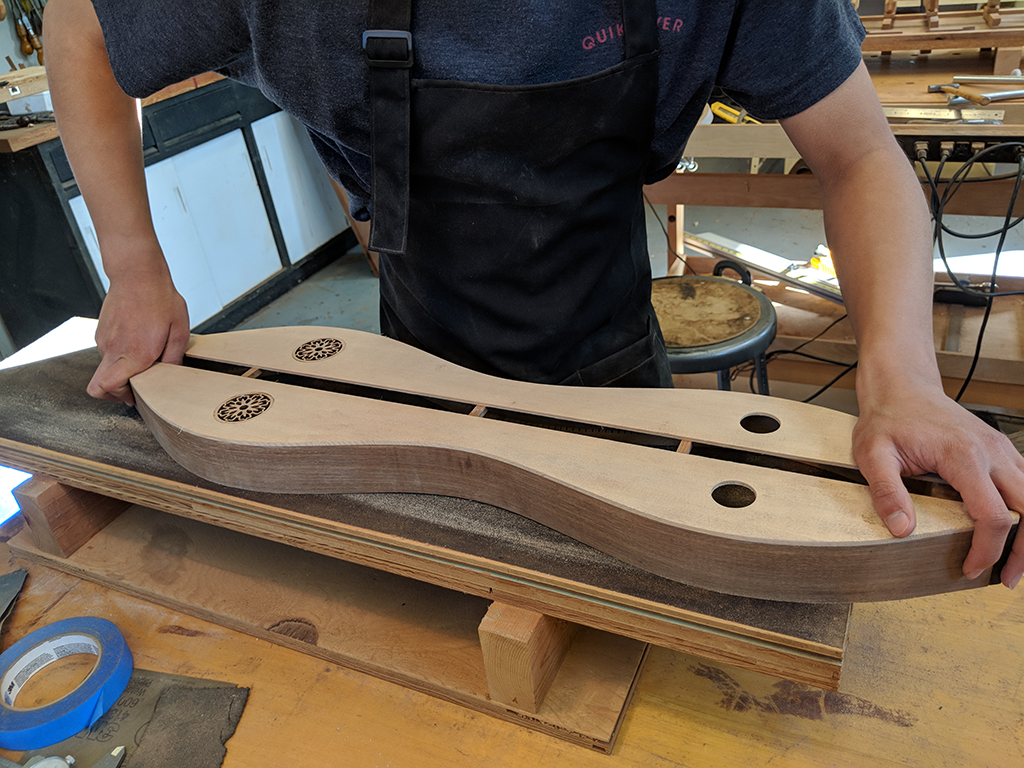
At the last project status update I had glued the pieces of the head stock together, and then I carved out the design of the headstock that I wanted. This required the use of a chisel and a LOT of sandpaper. Once the headstock was more or less finished, I cut the spaces for the frets in my fretboard, and I inserted the stainless steel frets (held in by glue). I then started the top, made out of citrus spruce. I glued in the laser cut flowers that make up the bottom sound holes. (phew!)
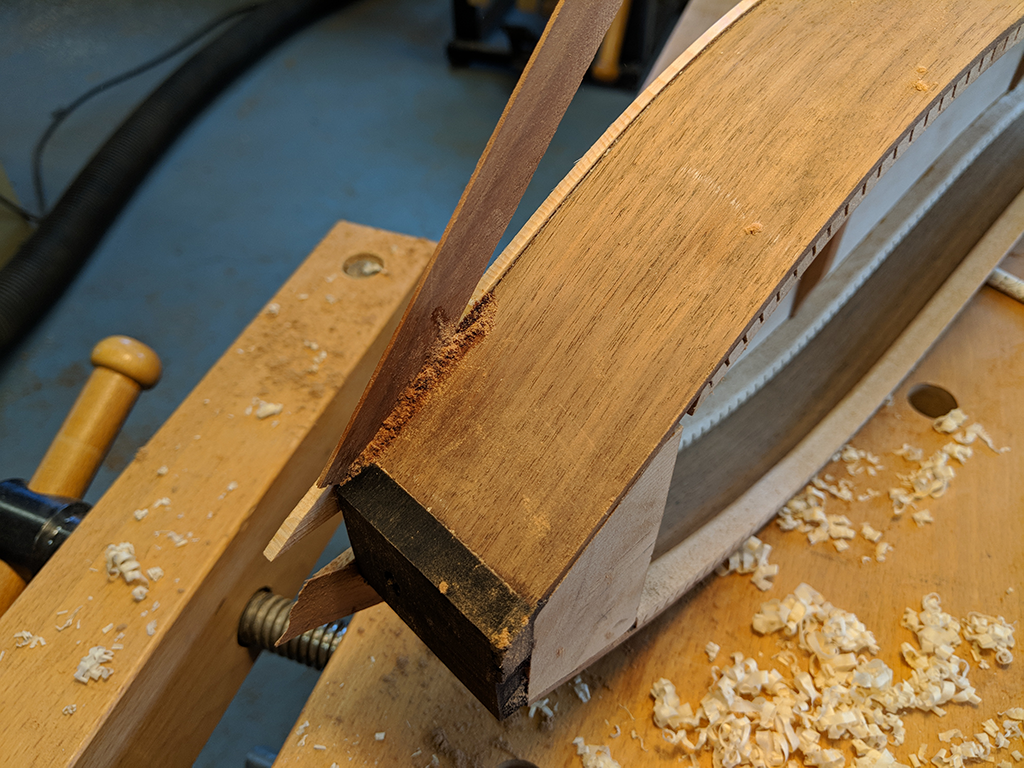
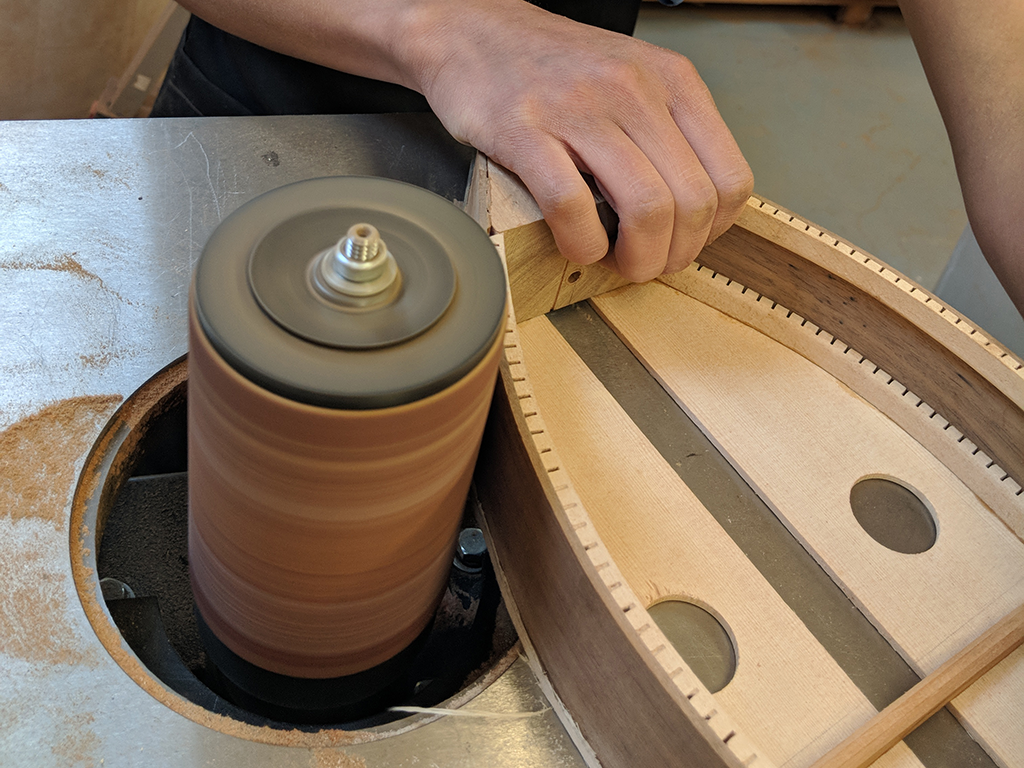
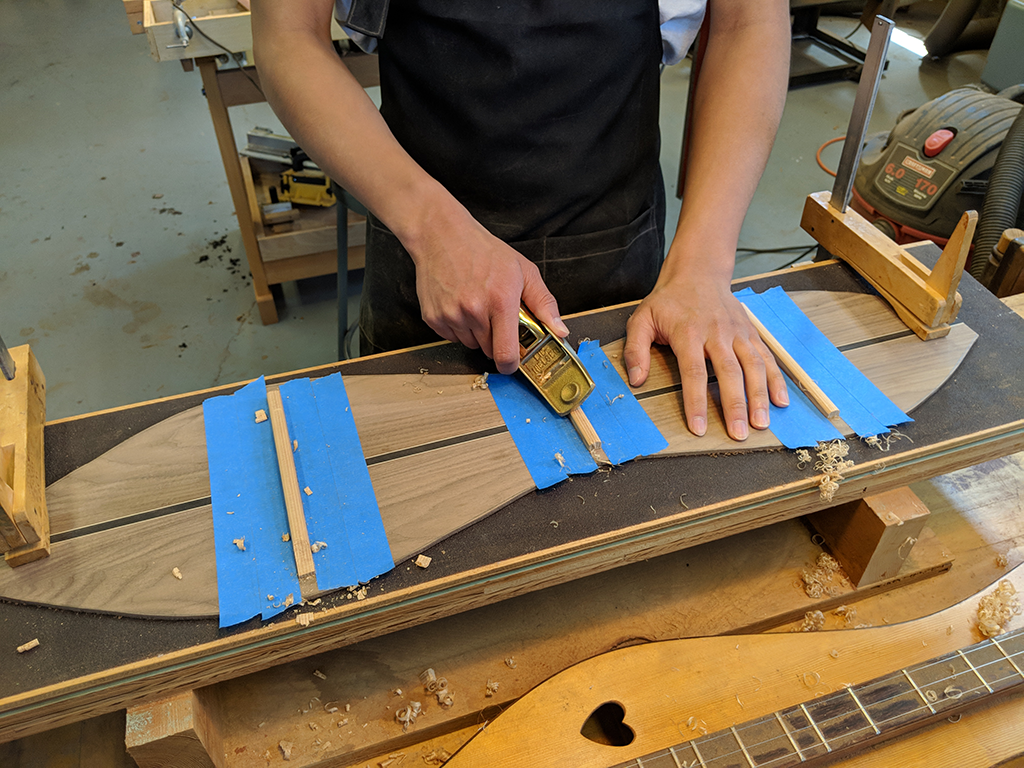
Since then, with the top completely constructed, I cut it out to fit the shape of the sides. There was some sanding here which enables the top to match the sides perfectly. Of course, as with other parts of the instrument, it was not truly perfect. At one of the ends, there was a gap between the sides and the top. I filled it with a shim and saw dust (picture 6 above), which helped to close the gap seamlessly.
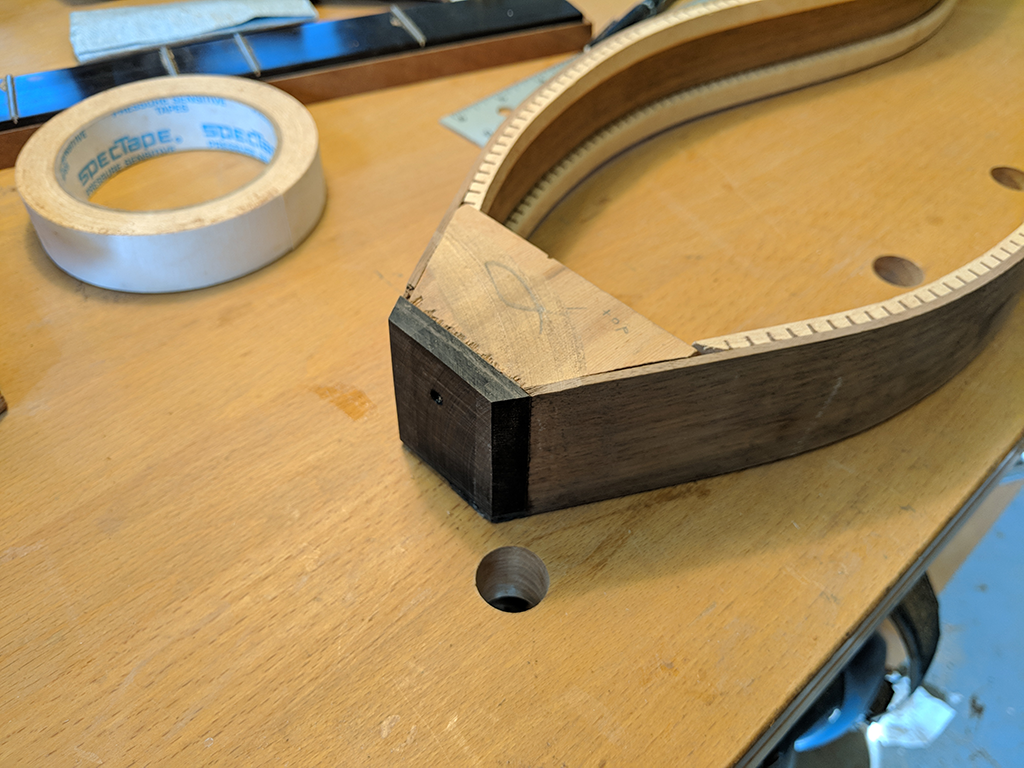
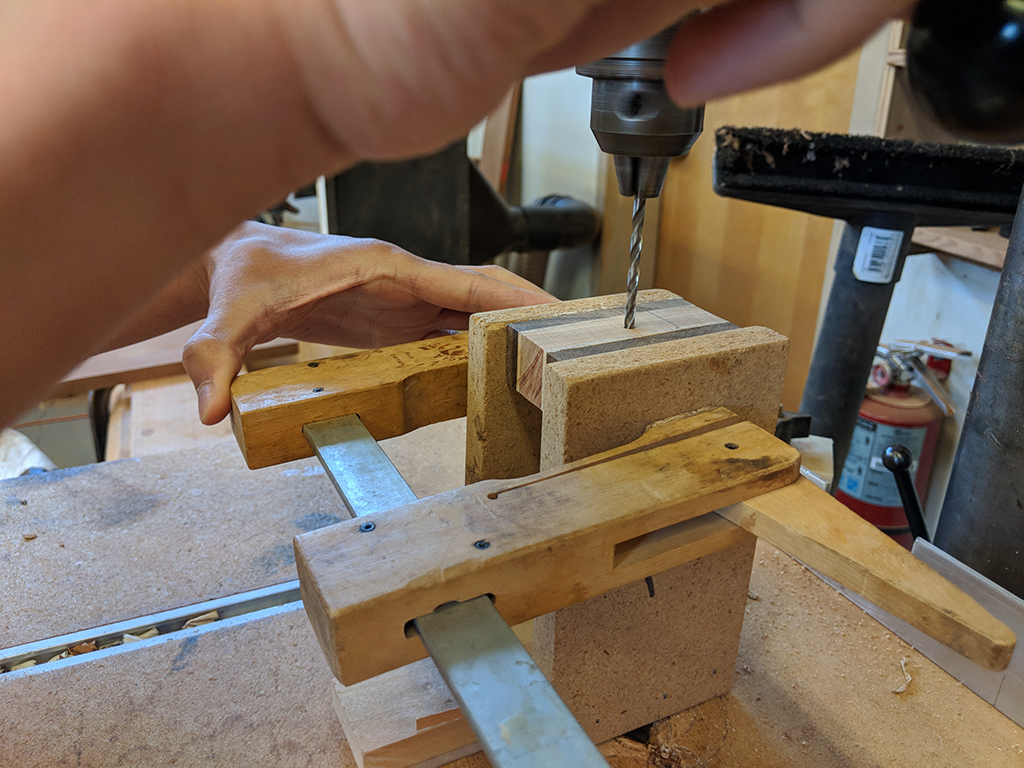
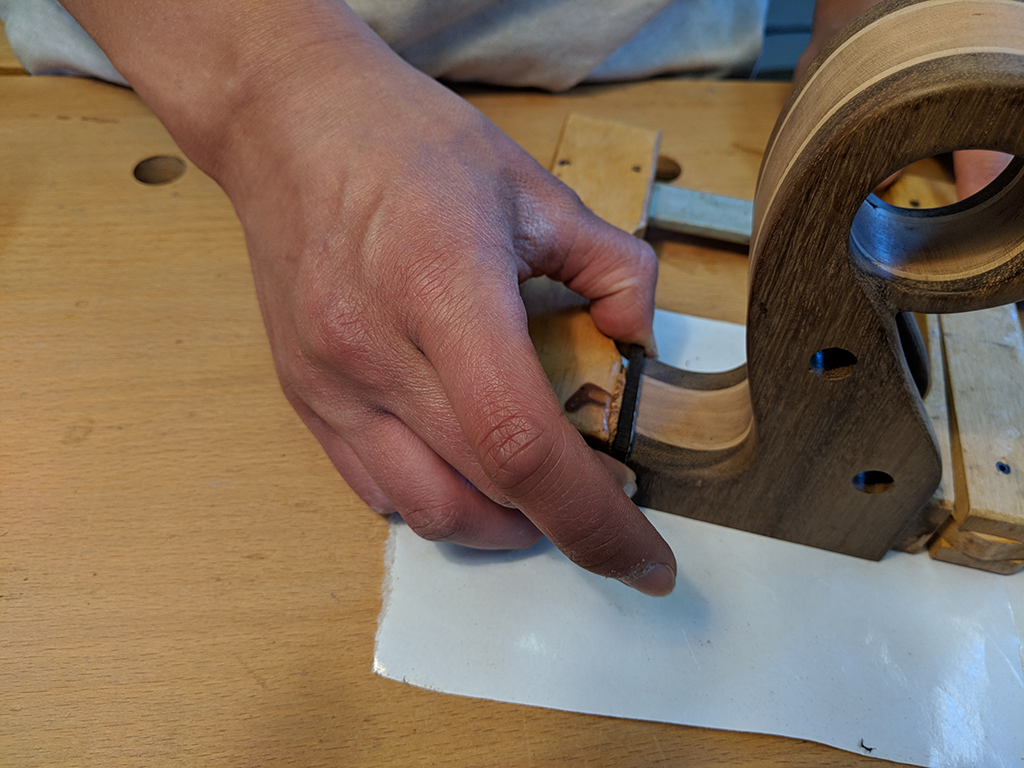
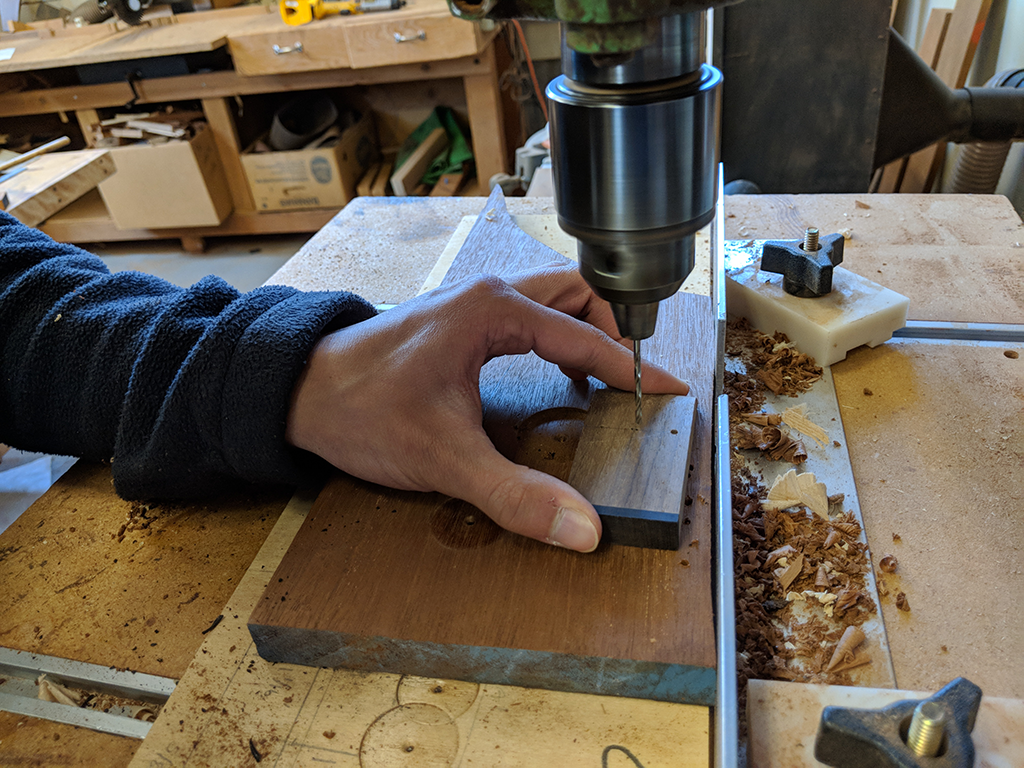
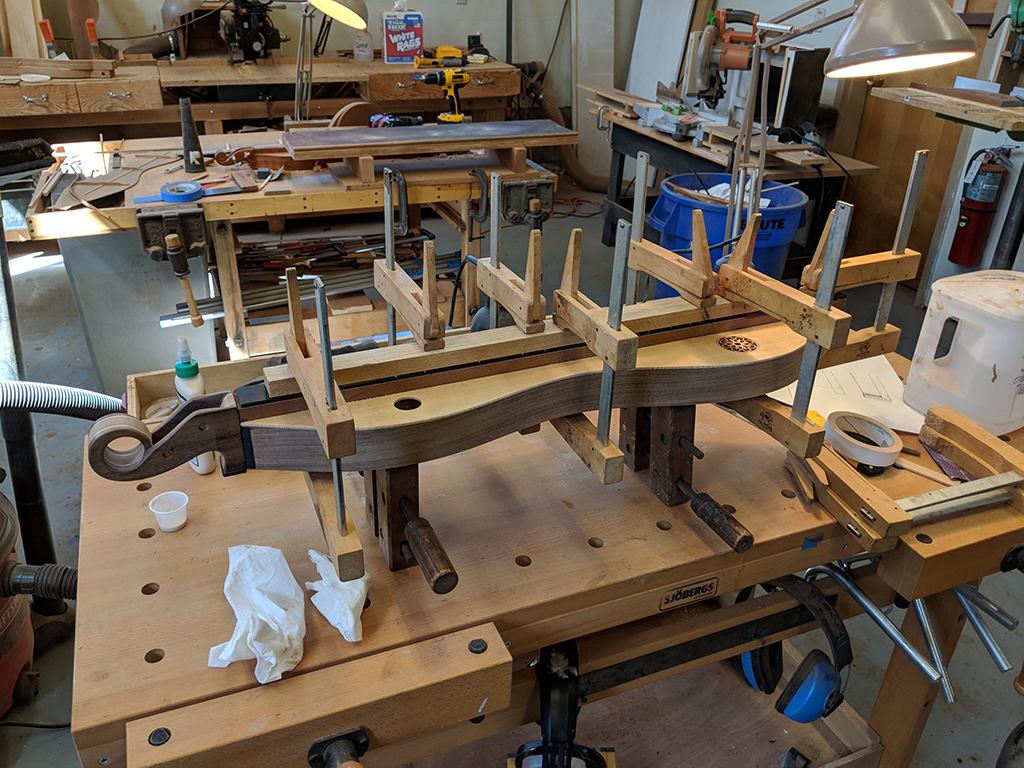
I also matched the head stock to where I would soon mount it. I drilled a hole in the end block and the corresponding location on the headstock. Although I will epoxy the headstock in place, I will add a screw into the hole which will help to clamp the headstock to the sides when I mount it.
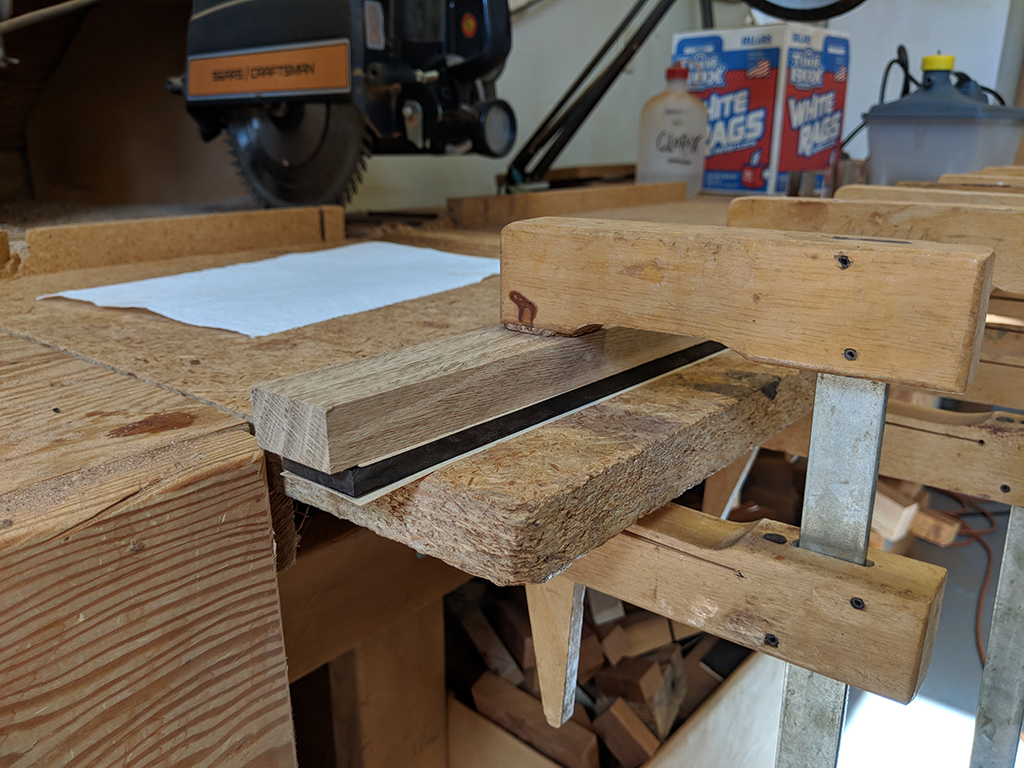
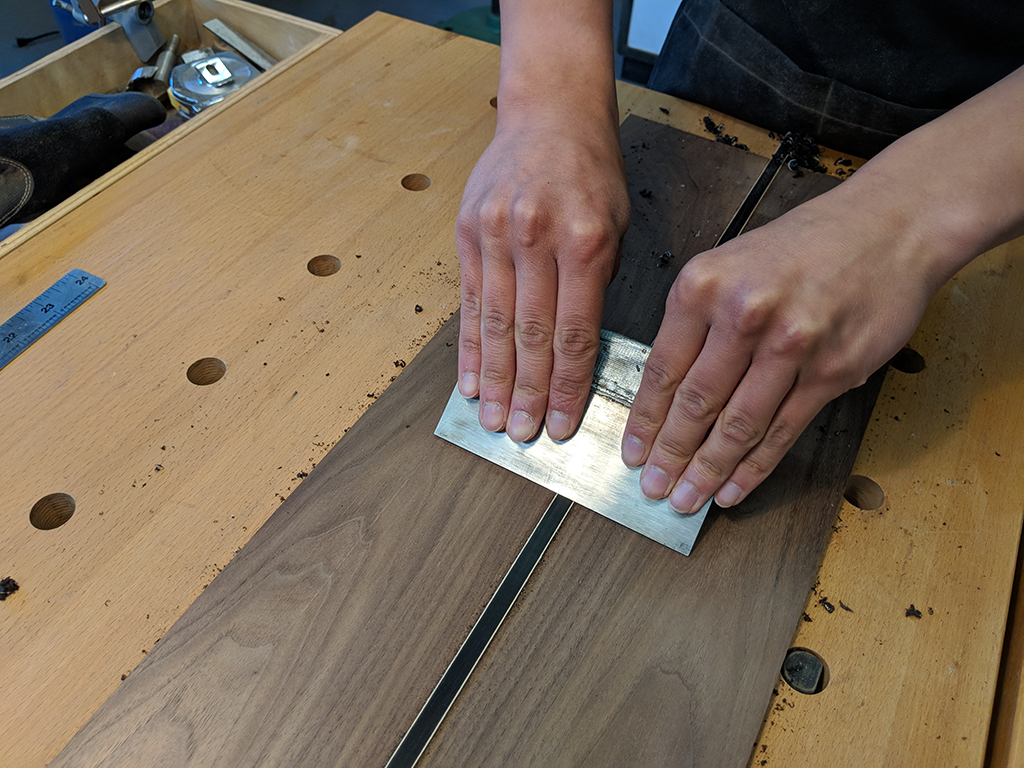
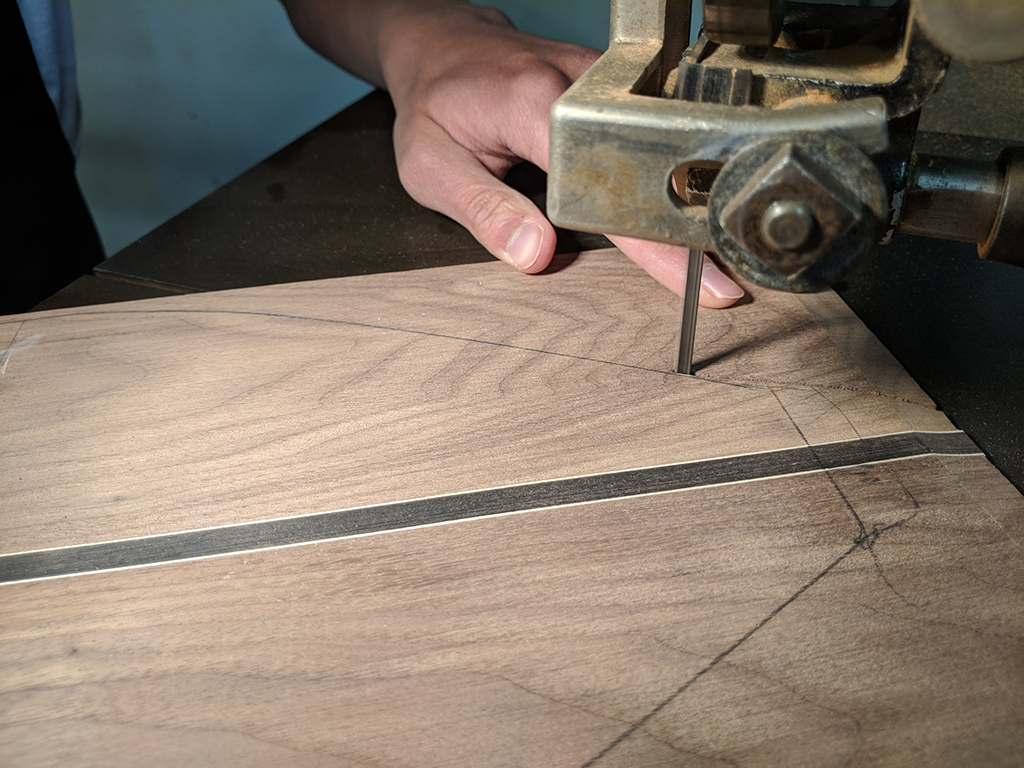
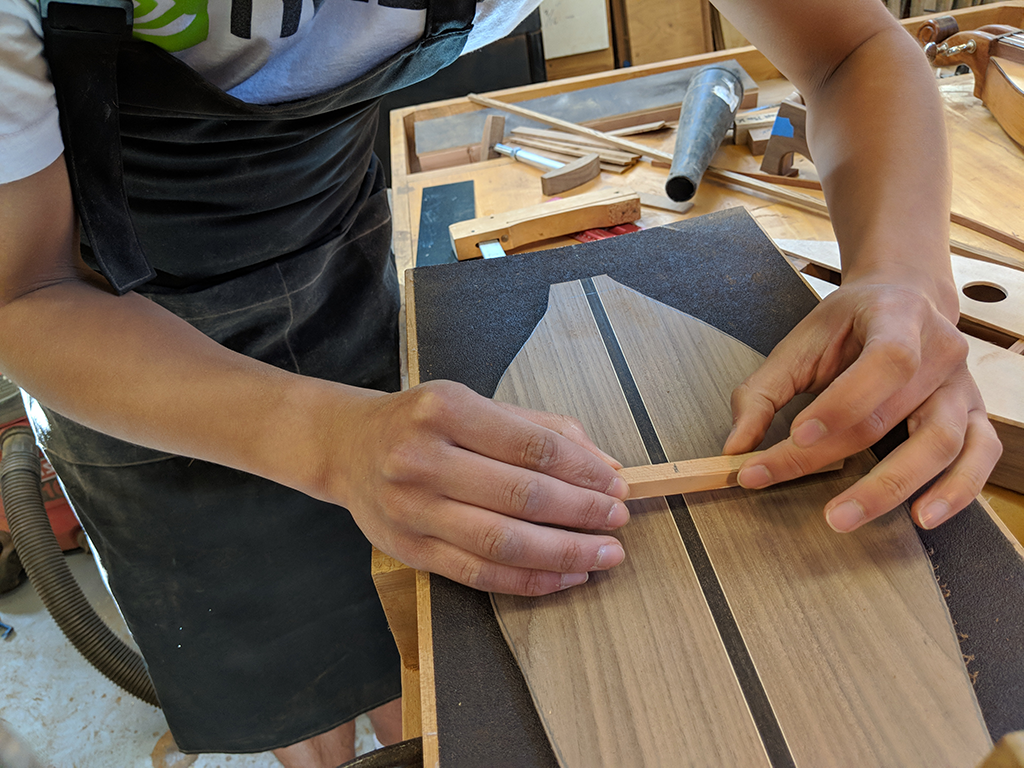
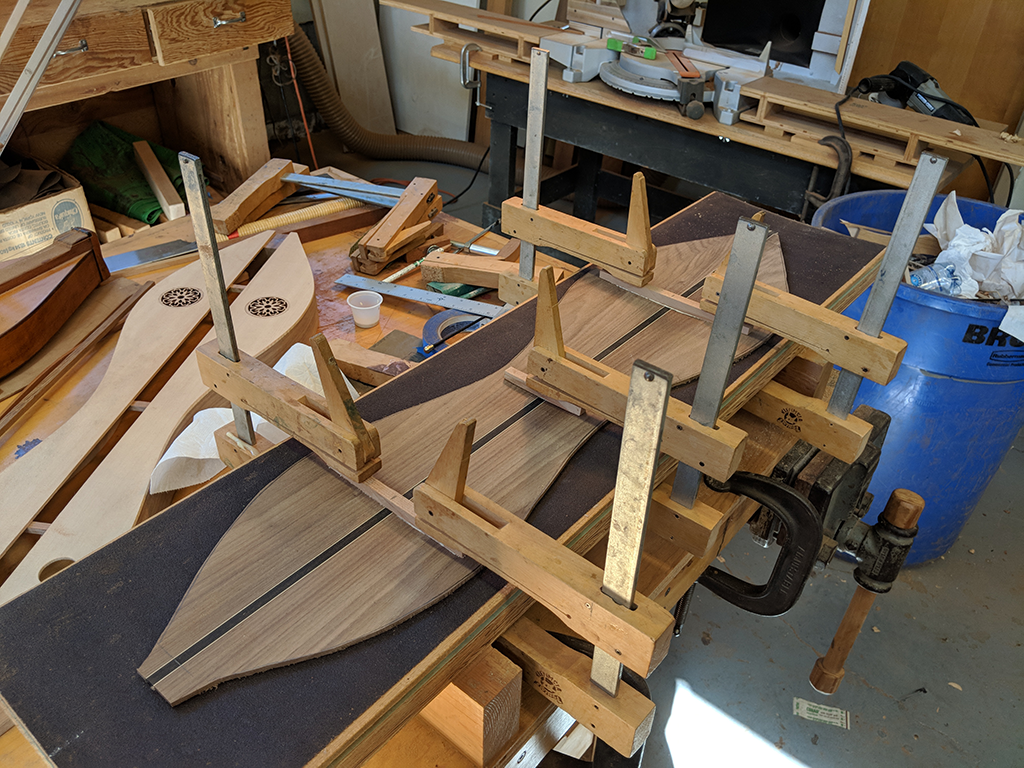
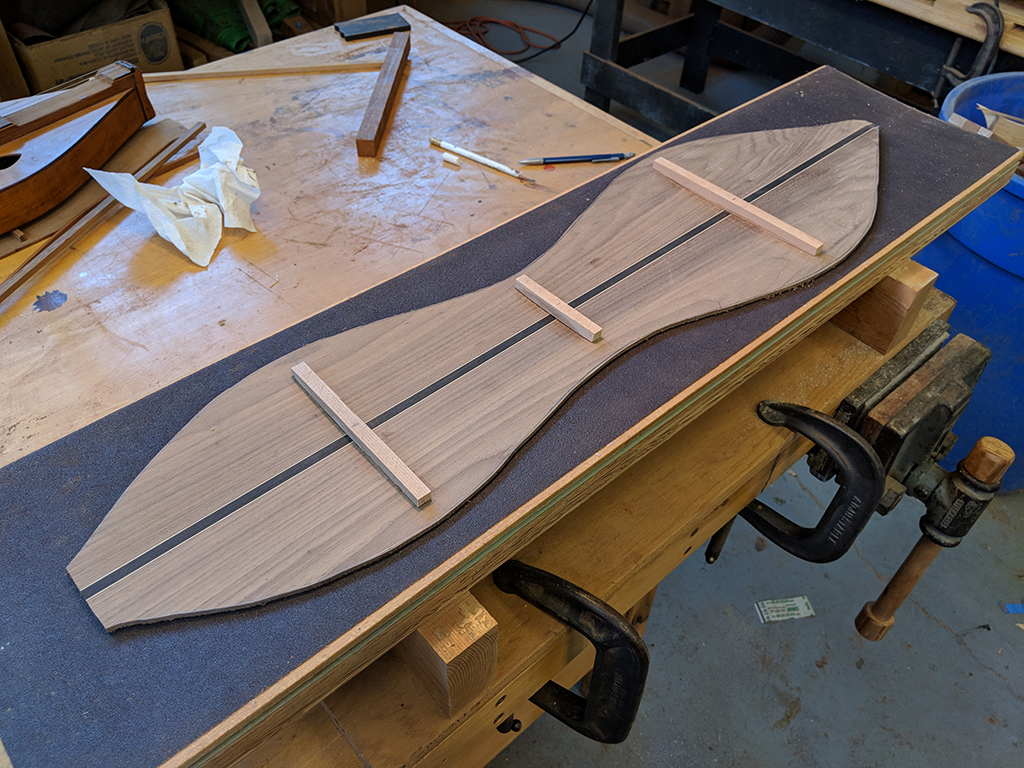
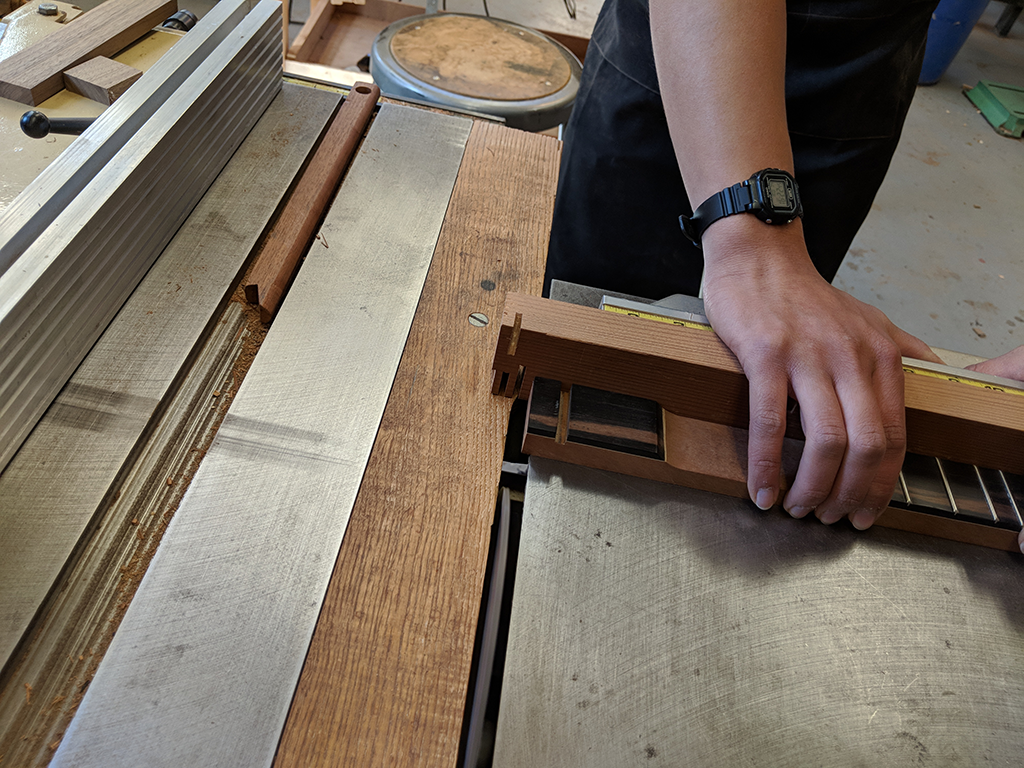
The next step was the back of the instrument. For this, I used a book match design. This means the two halves of the back mirror one another (in symmetry, shown in picture 12 and 16). I also added an ebony strip in the center which helps to contrast the walnut and match the fretboard and other accents throughout the instrument.
Similar to the top, the back has struts that help to keep it together. I curved my struts which give the back a slight bow. This was a stylistic choice. Not required, but seen in many high end guitars and strung instruments.
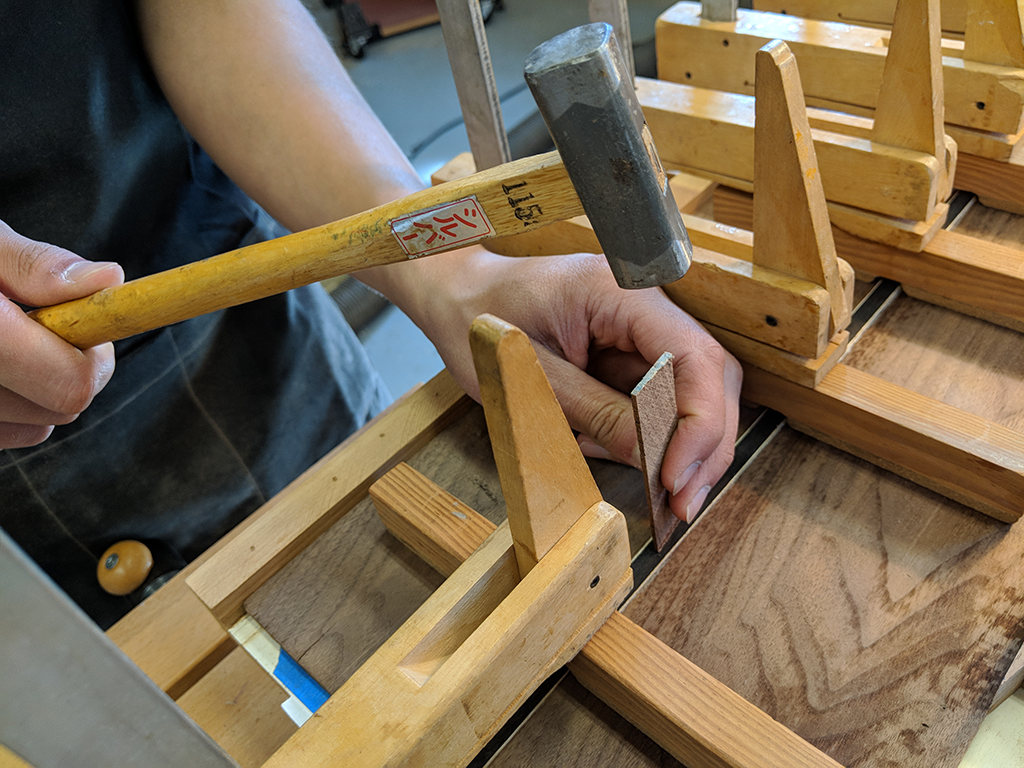
I moved onto the final piece that I needed the make: the tail piece. It is made from a simple piece of walnut, and it holds the strings at the bottom of the instrument. At the same time, I also glued the fretboard and the headstock to the body. Here, I saw the start of the end. My excitement grew everyday!
 |
 |
 |
 |
 |
 |
 |
 |
 |
 |
 |
 |